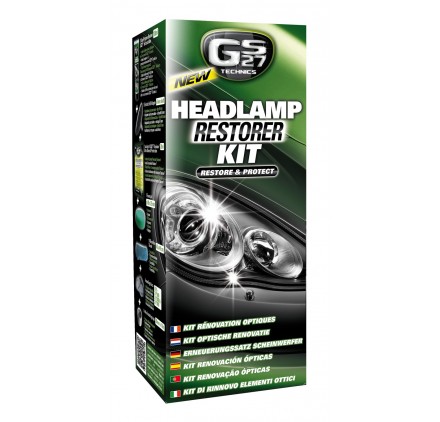
Car & Motorcycle Headlights Restoration: headlight restoration kit
Headlamp Restorer & Scratch Remover Kit:
- Carefully protect the bodywork round the headlamp with masking tape.
- Insert the adapter stem into the drill chuck.
- Fix a sanding disc on the adapter.
- Wet the headlamp with a sponge and then dampen the surface of the abrasive.
There should always be water on the headlamp. Add water during sanding if necessary. - Start the drill and sand the headlamp. Proceed in large circular figure of 8 movements. Do not apply pressure to the headlamp. Check regularly that the headlamp is not heating up. If the headlamp heats up, stop immediately. Sanding should not exceed 1 minute per headlamp. If your drill has several speeds, start with the slowest and increase the speed progressively but do not exceed 1600 rpm.
Use one sanding disc per headlamp. - Wipe the headlamp with the microfiber.
- Remove the sanding disc from the adapter.
- Fix the foam pad to the adapter.
- Apply a few small heaps of Dual-purpose Restorer GS27® Technics to the headlamp.
- With the drill stopped, spread the product over the whole surface of the headlamp with the sponge. The headlamp surface should be completely covered with a fine film of product. Add product if necessary.
- Start the drill. Proceed in large circular figure of 8 movements. Do not apply pressure to the headlamp. Check regularly that the headlamp is not heating up. If the headlamp heats up, stop immediately. This operation should not exceed 1 minute per headlamp. If your drill has several speeds, start with the slowest and increase the speed progressively but do not exceed 1600 rpm.
- Wipe the headlamp with the microfiber.
- If sanding marks remain, repeat the polishing stage (start again from step 9).
- If the headlamp is not completely restored, repeat the operation until you obtain the desired result (repeat from step 3).
More info on our Headlamp Restoration Kit:
|
|
| Headlamp Restoration Kit |